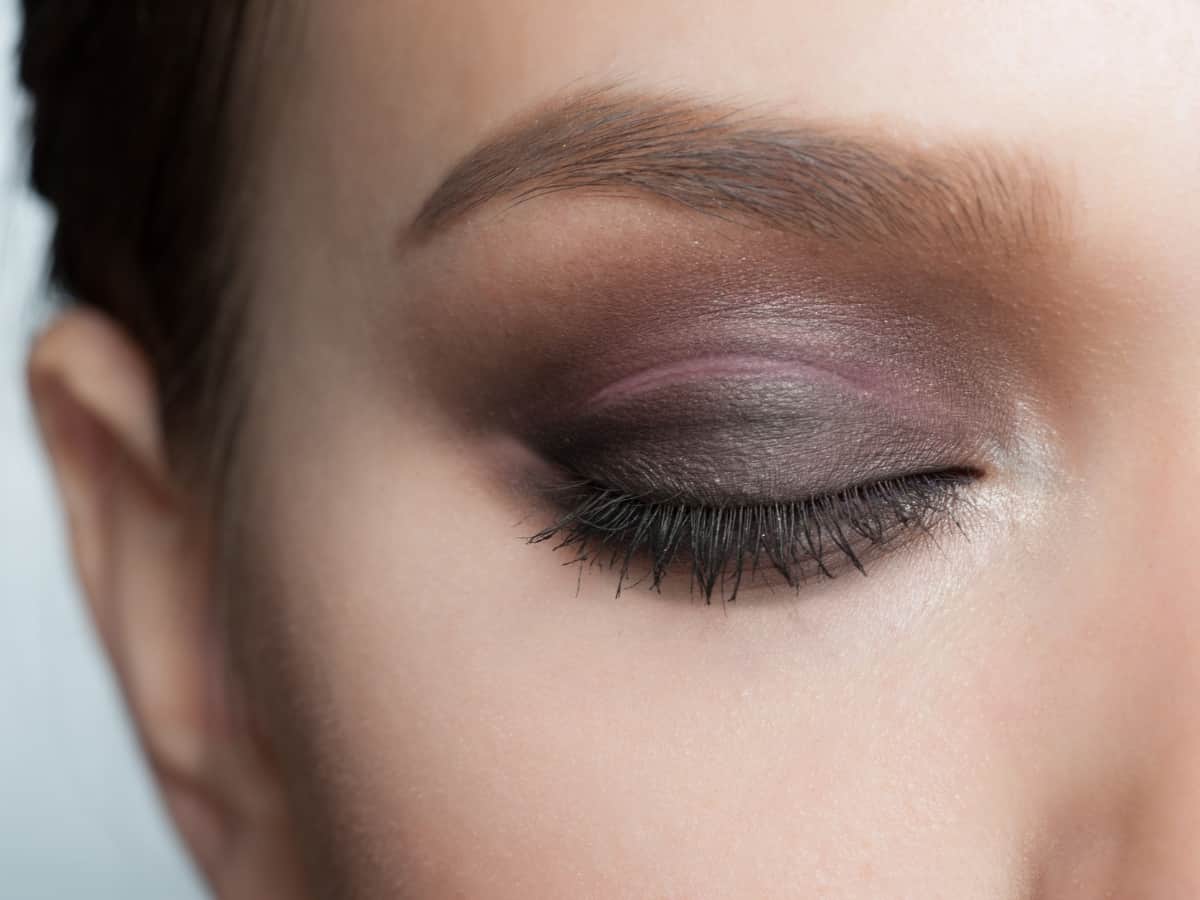
‘Creasing’ is an unwanted situation that happened to most of you, including me. My eye shadow never seems to stay in place. It creases every single time. Whenever I get dolled up for an event, say within a couple of hours, my eyeshadow creases, leaving me with an awkward situation and veining all the effort and time I spent creating.
But suppose you closely think about the process. Since we put a lot of pressure on our eyelids, it is normal for them to be sweaty and oily pretty much all the time. Just think of it; all the makeup removers, especially waterproof ones, have oil in them! Isn’t it? Thus, it is obvious that the oils will remove all the makeup we have on our eyelids.
If you are reading this post about “how to prevent eyeshadow from creasing,” In that case, I’m pretty sure you have an oily lid and have found that your eyeshadow doesn’t stay put, creases, smears, or just disappears into thin air.
Sit tight, girl!! Because In this article How to keep eyeshadow from creasing, we have solutions to keep your eyelid “matte” and ensure that the eye makeup stays as applied instead of being an oily mess.
We will talk about 3 phases here mainly –
- PREPARATION PHASE
- APPLICATION PHASE
- CORRECTION PHASE
PREPARATION PHASE (TO KEEP EYESHADOW FROM CREASING)
We all know that precaution is better than cure. Therefore, if we take the necessary precautions (like prepping our eyes first), trust me! After that, we are literally done with 50% of the work.
So, to prep your face, we suggest you follow the instructions here. Let’s not waste any more time; instead, let’s run through everything that will assist you to avoid creases.
USE A CLEANSING PAD, BEFORE APPLYING EYESHADOW
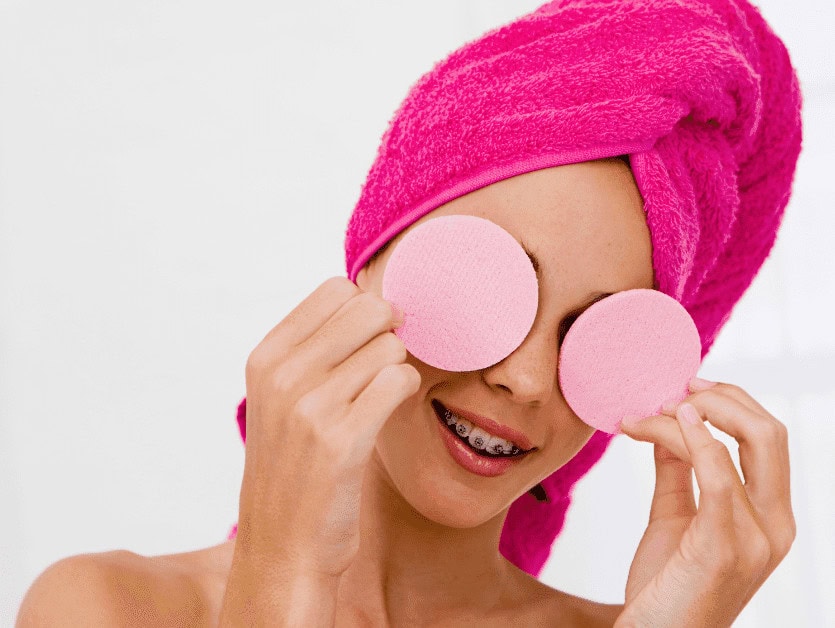
Take a makeup removal cleansing pad and gently clean your eye area. This will absorb all the excess oil that your skin was not able to absorb, and the absorption of that excess oil means that your eyeshadow will stay in place.
If you prefer doing your base before eye makeup, then do not use micellar water or makeup removal pads because they are meant to take your makeup off. Instead, you can soak your cotton pad in water, squeeze off the excess, and use it to clean your eyelid.
EXPERT TIPS –
- If you do not have makeup removal wipes, soak a washcloth with warm water and use it to wipe your eyelids.
- Before applying other cosmetics, use a soft washcloth to gently pat dry your eyes.
RUB ICE / ICE GEL PACKS ON YOUR LIDS
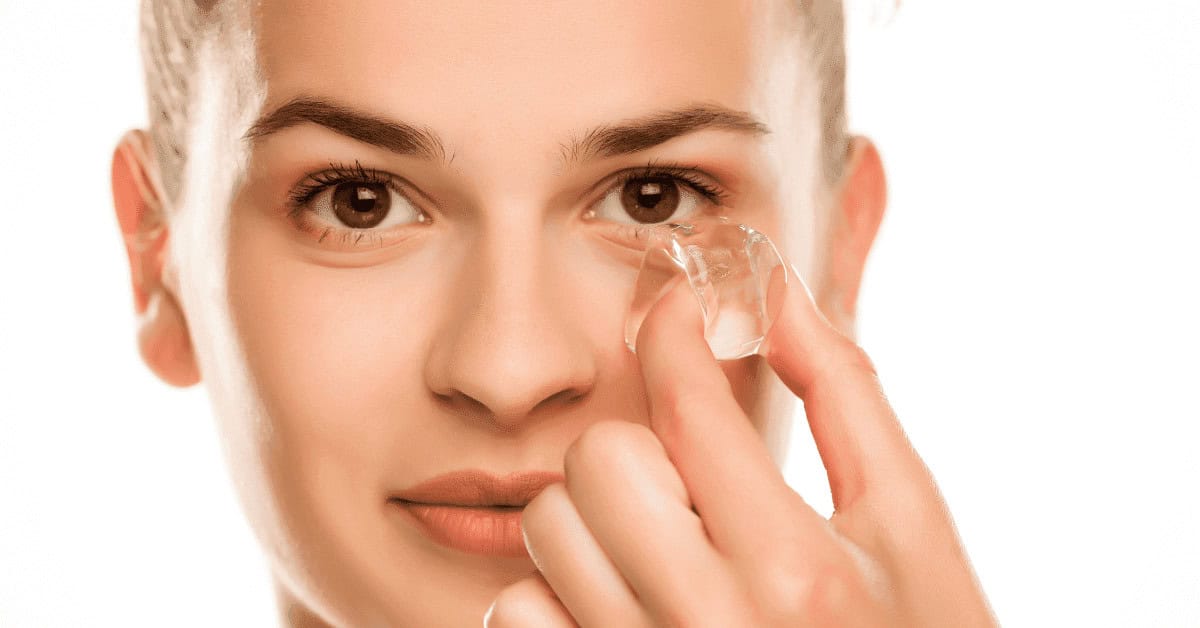
Ice is your magic wand if you have excessive sweating and oily lids. If you do not know, ice packs tend to shrink oil-producing pores, so you will have less oil and sweat on your lids, which will keep your eye makeup long-lasting.
Either an ice cube or an ice gel pack will work. Just put some tissue paper or a cotton cloth on top of it. So, it won’t hurt you with ice or cold burns. Then very gently press it on your lids.
AVOID OIL-BASED EYELID MOISTURIZER
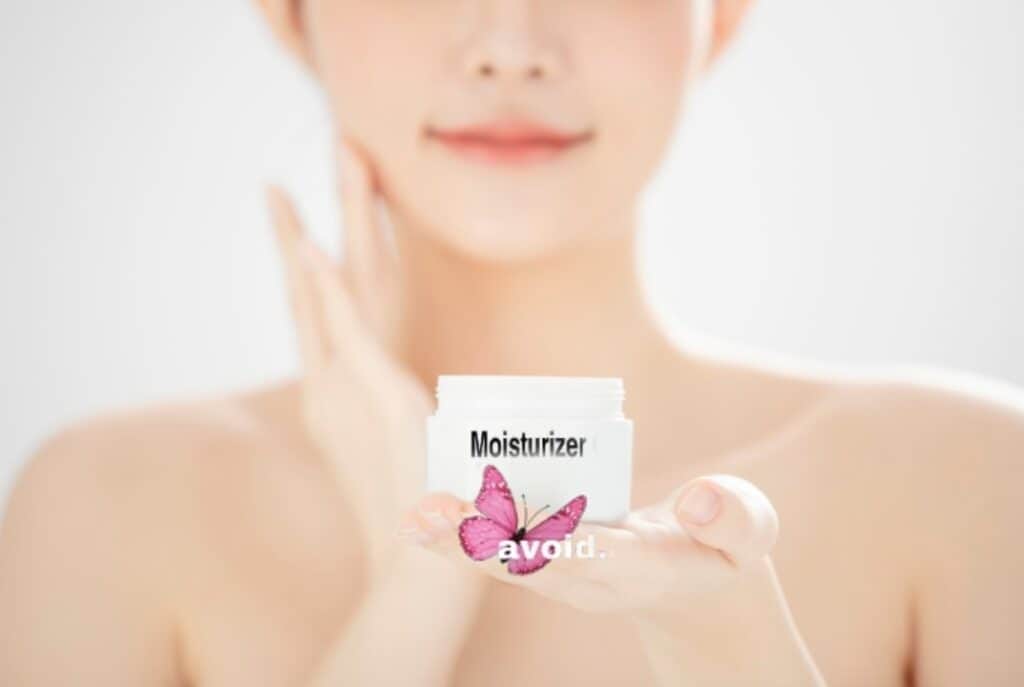
Suppose you are using a moisturizer before bed. In that case, it will be great to just give the eyes that well-needed dose of moisture and hydration. But if you cannot commit to that in your skincare routine every night, applying an oil-free moisturizer after the primer is the kind of thing that gets you out of a tight corner. But, of course, that would just instantly resurrect the dry areas you are feeling.
EXPERT TIPS –
- While moisturizer could keep your eyelids moisturized, the oil makes it more likely that your eyeshadow will crease. So instead, opt for items that are oil-free to use around your eyes.
- Avoid getting moisturizers in your eyes while applying them to your eyelids.
APPLY EYE SHADOW PRIMER ON YOUR EYELIDS
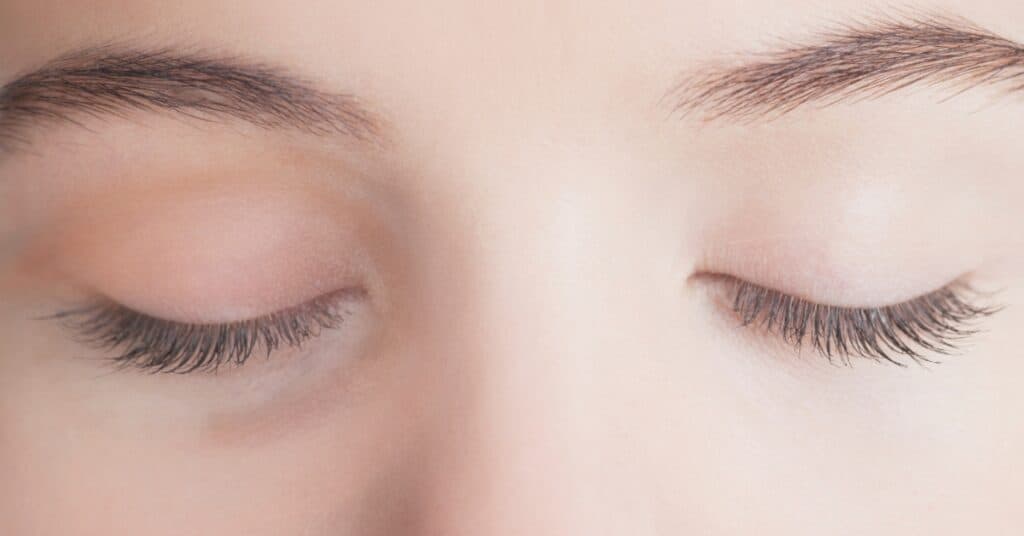
Eyeshadow will never stay on your lids if you do not use one thing, which is PRIMER. One common mistake many of us make regarding eye makeup is skipping an eye primer. We all know that primer is necessary for a long-lasting foundation. The same applies to your eyes. You must prime your lids, whether you use an eyeshadow primer, your usual foundation, or concealer.
This simple step will help absorb any excess oil that causes your eyeshadow to crease and smudge throughout the day. In addition, using a primer before applying your shadows helps the colors “pop” more and ensures that they remain in place. So it is a win-win, right?
Take a minimal amount of product at your fingertips and apply it with your fingers. This way, you will feel all the areas you need to put your primer on. Then, dab it to blend it evenly and wait for it to dry.
EXPERT TIPS –
- By doing so, you may relax the wrinkles around your eyes and apply concealer more easily. This will help wrinkles around your eyes stretch, making the application process much smoother.
- Never forget to apply primer under your eyes. Even if you do not use any eyeshadow, apply some before the concealer. This step will stop your concealer from creasing.
- Apply shadow primer underneath the lash line for sweat-proof eyeliner.
- In case you do not have an eye primer, use a regular face primer. Then you must apply concealer to create a smooth eyeshadow base.
- Be sure to choose oil-free primers.
MATTIFY WITH TRANSLUCENT POWDER
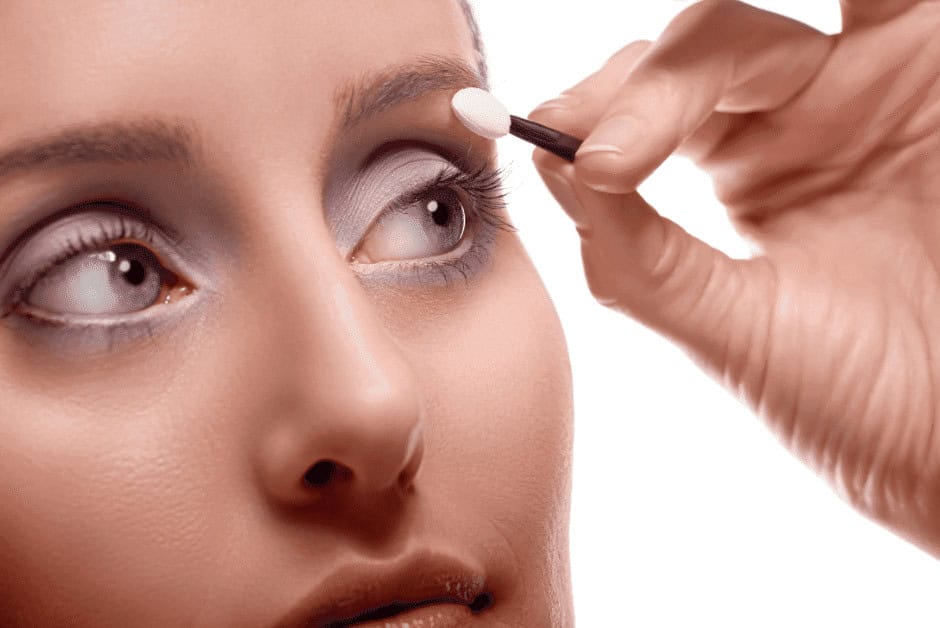
Simply priming your eyelids will never be enough if you have an extremely oily eyelid. To absorb any extra oil effectively, you will need to lightly pat a little transparent powder on the surface. Powders that are translucent help to absorb any extra oil that may be on your eyelids.
Most translucent powders are sold as face products to cover up greasy chins, T-zones, and cheeks, but they also work well on eyelids. Baking and this method are conceptually identical to one another. Still, nobody ever does it on their eyes, and nobody realizes how much of a difference it makes to your eyeshadow.
It will absorb into the eyeshadow primer and lock it down tight, so it will not crease, smudge, or get oily during the day. It is literally going to stay perfectly in place.
Take your beauty blender and dab it into your translucent powder. Then start spreading the powder over your eyes. Then, dust off the excess product with a brush after you have left it to sit for 60 seconds.
USE LONG-LASTING MAKEUP
Look for key terms like “long-lasting,” “water-resistant,” or “waterproof” when choosing a product. These products have a higher probability of lasting, which helps keep your eyeshadow from creasing. Go online and read reviews of the product you are considering buying to see whether others think it works well.
If you do not see key phrases promising you that it will last longer, to remove waterproof or long-lasting makeup, use a makeup wipe or a dab of petroleum jelly.
APPLICATION PHASE (TO KEEP EYESHADOW FROM CREASING)
In this phase, we will discuss the application procedure and how to apply eyeshadow without creasing. The residual 50% of the work will be done in this process.
LAYER EYESHADOW USING A STIFF BRUSH
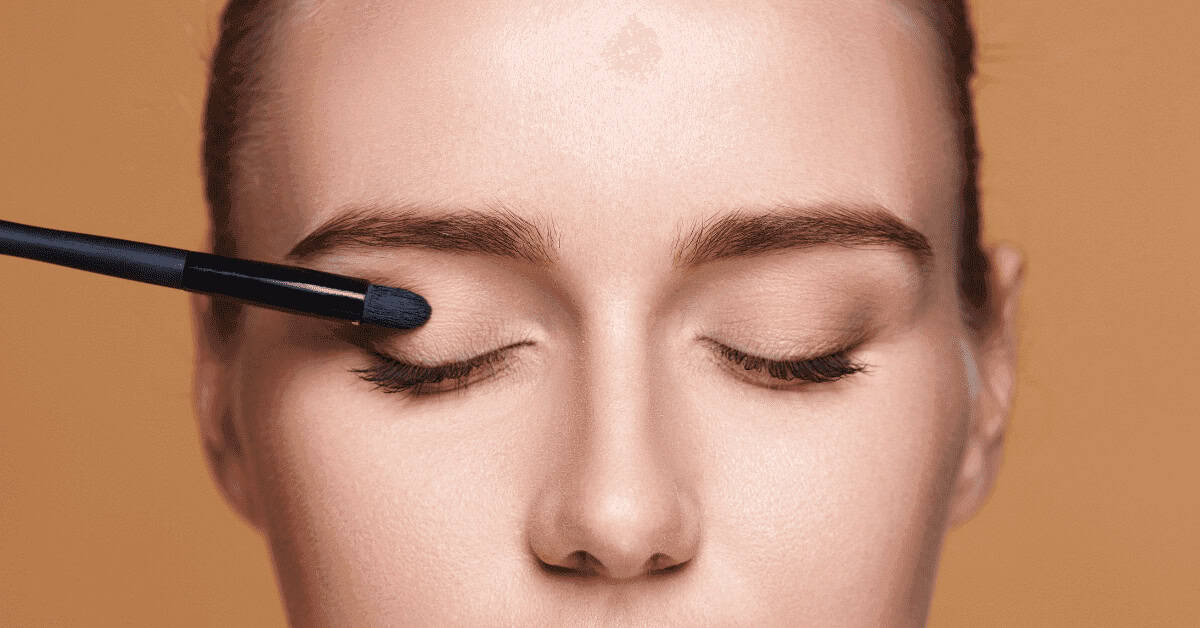
Actually, one of the best ways to prevent eyeshadow from creasing is to apply eyeshadow with a shadow brush. However, when using a soft brush, it may be more difficult for each layer to remain on top of the previous one.
A stiffer brush will help your eyeshadow remain in place and prevent the colors’ blending. You will notice a significant difference between applying the color with a brush and using your finger. It will apply more evenly and smoothly. Find a stiff eyeshadow brush at your local beauty supply store or online.
EXPERT TIPS –
- To keep your brushes hygienic and clean, wash them after each use of a new eyeshadow shade.
APPLY EYESHADOW IN THIN LAYERS
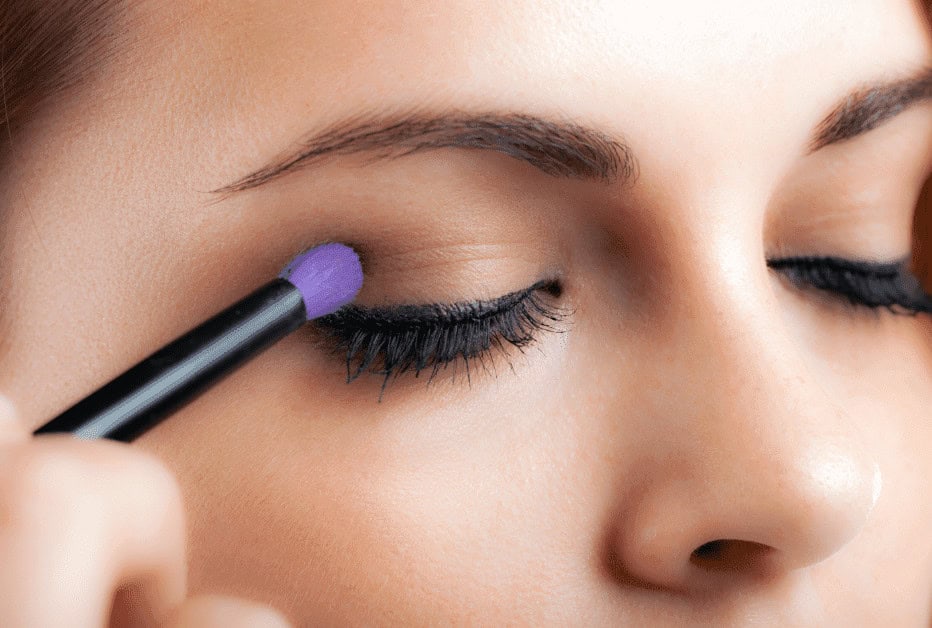
Layering your shadow is a one-way ticket to a crease-free finish. In order to get a popping color and prolonged wear, layering is essential. If your eyeshadow is overly sheer, it could smear or crease. Even when you select a neutral tone. Even if you choose a neutral tone. Build up the layers one at a time rather than applying a vast amount of eyeshadow to your eyelids in one stroke.
To get the desired shade, start by applying a barely visible eyeshadow coating and then add only thin layers. Just remember to build up the coverage gradually rather than combining the colors all at once. Using a single heavy coat of eyeshadow might lead it to fall right into the wrinkles of your eyes. So, be careful while applying.
CREAM EYESHADOW LAST LONGER
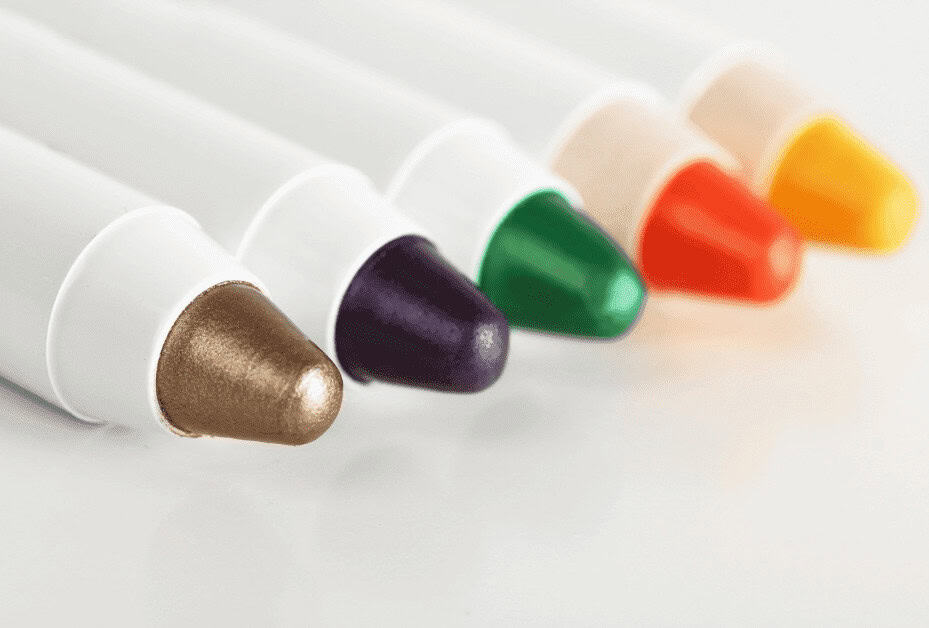
Due to their consistency, cream eyeshadows last longer than loose powder. Think about using a base of cream shadow.
Use your fingers to dab the cream eyeshadow over each eyelid, then blend it all over. Then top it off with a powder eyeshadow of the same color. It will mattify your base and prevent it from creasing.
CHOOSE A MATCHING GEL EYELINER FOR AN ADDITIONAL LAYER
Gel eyeliner sticks to the eyelids effectively and works well as a base to prevent creases in your eyeshadow. Apply the gel liner to your eyelids and swiftly and evenly mix it with a stiff brush or finger. After that, you may cover the gel foundation with your eyeshadow.
It’s crucial to keep in mind that using a gel eyeliner that is not the same shade as your eyeshadow may cause it to show through. Also, when applying gel to your eyelid, you must move quickly to mix it evenly.
SETTING SPRAY KEEPS MAKEUP IN PLACE

We all know how difficult it is to keep your makeup looking fresh until the end of the day, but makeup-setting sprays can help reduce the need for touch-ups. Using a setting spray for makeup is meant to help stop your cosmetics from smudging, smearing, creasing, or fading rapidly. This is considered to be an extra layer of protection.
Setting sprays are quick and easy to use; all you need to do is hold the spray around 1 foot (12 inches) away from your face while keeping your eyes tightly closed. You can trust this to keep your eyeshadow and other cosmetics in place all day long.
EXPERT TIPS –
- Never open your eyes while applying a setting spray on your face. Because if by any chance it goes inside your eyes, it can cause dry pupils.
- Use the setting spray before applying mascara to prevent smudging it all over the face.
CORRECTION PHASE (TO KEEP EYESHADOW FROM CREASING)
In this phase, we will discuss how you can fix your creased eyeshadow.
FIXING CREASED EYESHADOW
If you did not follow the above techniques or did not know about the procedure before, your eyeshadow may have creased. In that situation, how will you restore your look, and what techniques do you need to follow? Let’s have a look at it.
USE BLOTTING PAPER TO REMOVE OIL
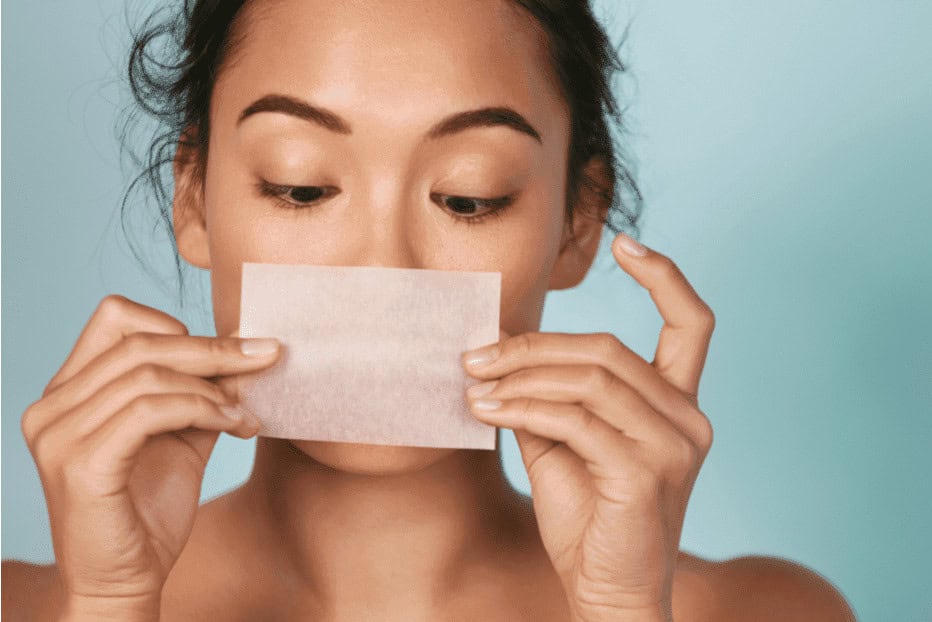
Blotting sheets remove excess oil from your skin while completely keeping your makeup. If your eyeshadow is beginning to crease, dab one blotting sheet over your eyelids to remove extra oil. If desired, this will make it simpler to add more eyeshadow layers.
Get a pack of blotting paper from your neighborhood’s large box shop, supermarket, or pharmacy.
SMOOTH-CREASED EYESHADOW USING YOUR FINGER
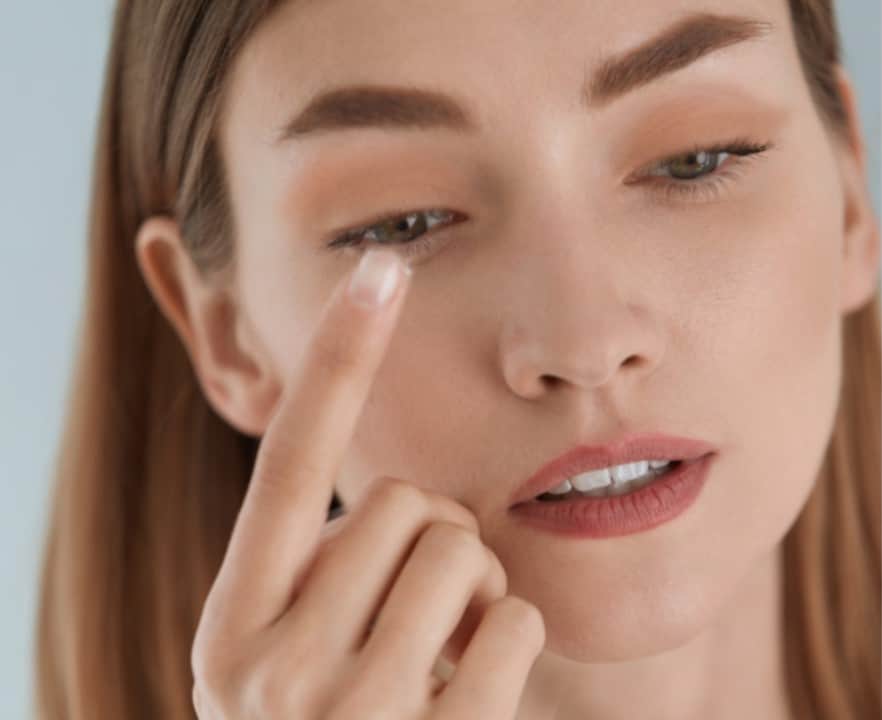
This is an effective strategy since you do not even need to gaze in the mirror. Then, with your eyes closed, lightly run your finger down your eyelids to smooth out any creases you may have seen in your eyeshadow.
Fix your eyelids with your finger while in the bathroom if you prefer to see what you are doing, or take a pocket mirror with you.
ADD ANOTHER SMALL LAYER TO ADJUST
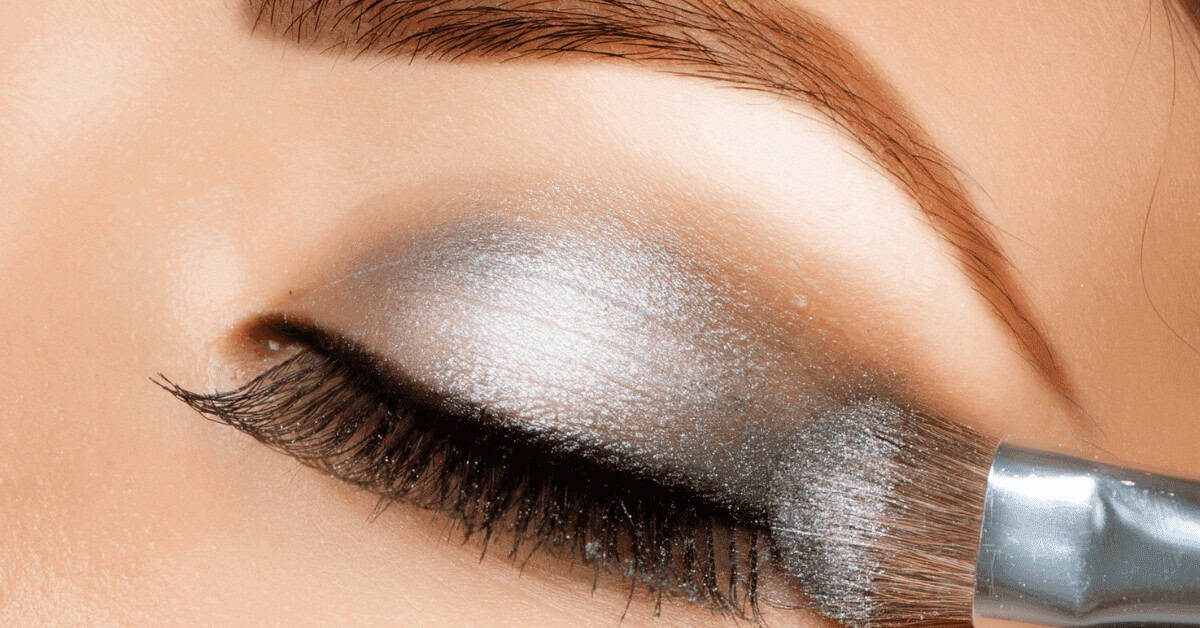
To remove the creases that appeared, apply a thin coat of eyeshadow with a brush. Carry your eyeshadow and brush with you if you are out and about, so you can touch it up, if necessary, in a mirror.
FINAL VERDICT
It is not always easy to figure out how to avoid creases in eyeshadow, but it is not impossible! Although I’m not too fond of creases, there are a ton of other techniques to prevent them. In addition to the ones, I have given here. Therefore, I genuinely hope this article was a great help for you to Stop Eyeshadow From Creasing.

