While every woman’s beauty bag may contain somewhat different must-haves, it is sure to have an eyelash curler on the list.
Whether you are a seasoned cosmetics enthusiast or a newcomer to the curling scene, there may be a few things you do not aware are incorrectly squinting. Here is all the information you need to curl your eyelashes like an expert.
WHAT IS AN EYELASH CURLER?
A portable eye cosmetic product called an eyelash curler curls your eyelashes to create a lift. Your eyelashes may look longer and fuller with the help of this gadget. Eyelash curlers are one of the simplest ways to brighten your eyes and add drama to your lashes. They are inexpensive, portable, and have a substantial impact.
Eyelash curlers are a simple way to make your eyes look brighter and give your lashes more drama. Whether you buy mascara for length, volume, or curls, curlers are a great way to make your eyes pop! Discover a simple, user-friendly technique for using this eye makeup tool.
WHO INVENTED THE EYELASH CURLER?
In 1931, William McDonell created the first eyelash curler. Charles Stickel also submitted a patent application, but it is abundantly evident from the patient’s paperwork that McDonell alone was the original creator. It was first used with suction cups and a mirror.
Most people agree that William Beldue invented the eyelash curler because he worked to improve it. He is also the owner of patents in the US, the UK, and Canada.
WHO ARE THE BEST CANDIDATES FOR EYELASH CURLER?
Unless your eyelashes were already curled when you were born, you need an eyelash curler to make them stand out. Although everyone can use it to create a lash lift using a curler, especially those who don’t want to opt for a semi-permanent curl like Eyelash LIFT. Suppose your lashes are generally long and curly. In that case, they will appear like falsies with a bit of additional curl and mascara!
WHEN TO USE AN EYELASH CURLER?
Use it before your mascara. When your eyelashes are dry, clean, and not coated with mascara.
Some people used to make the error of curling their lashes afterward, but this usually results in clumpy lashes. But in addition to obtaining clumpy lashes, you also run the danger of having your eyelashes become caught in your curler and tearing them off like something out of a zombie movie.
While covered with dry mascara, they become more fragile and breakable. You may work carefully to prevent this, but in the opinion of the pros, curling your lashes before applying mascara is the safest option.
HOW TO USE AN EYELASH CURLER (STEP-BY-STEP)
- FIND THE RIGHT CURLER FOR YOU
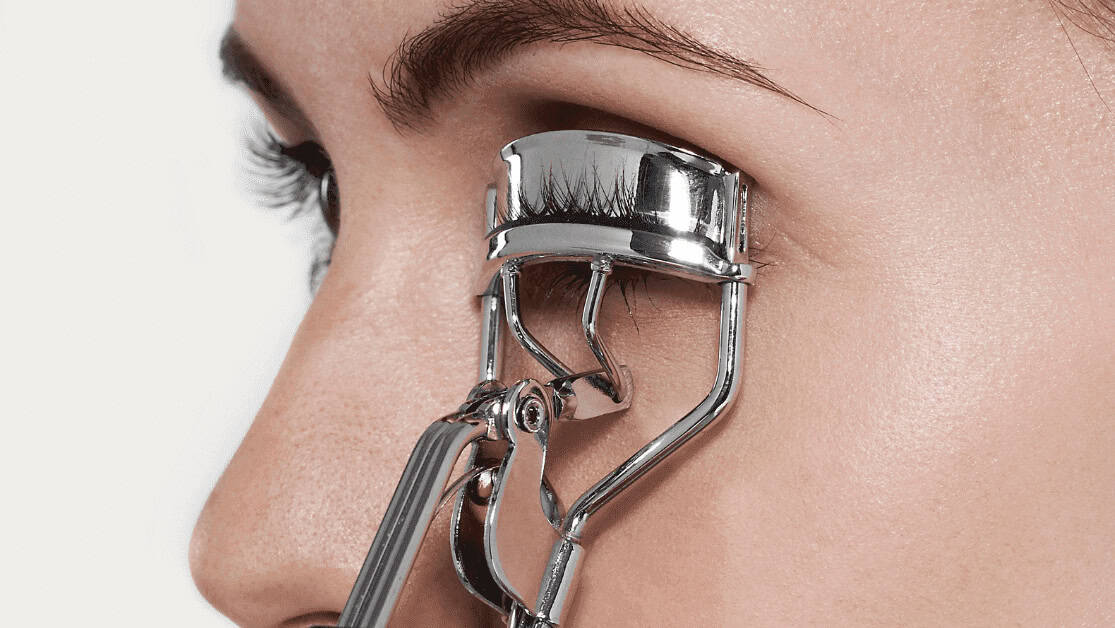
Before you begin, ensure you have the proper tool for your routine and styling preferences. Heated eyelash curlers and regular eyelash curlers are the two most prevalent varieties you will see.
Heated eyelash curlers provide a more powerful curl that lasts longer, like other heated hair appliances. However, you may wish to use a basic, unheated eyelash curler if you are just learning how to curl your eyelashes.
Look for a curler without heat that is bent to fit your eye’s natural shape and has a big enough pad to push on your lashes. Additionally, you can always use a hairdryer to pre-heat your metal curler before using it if you ever want to add a little heat. Before holding the metal object to your eye, ensure it is not too hot.
- PREPARE THE LASHES
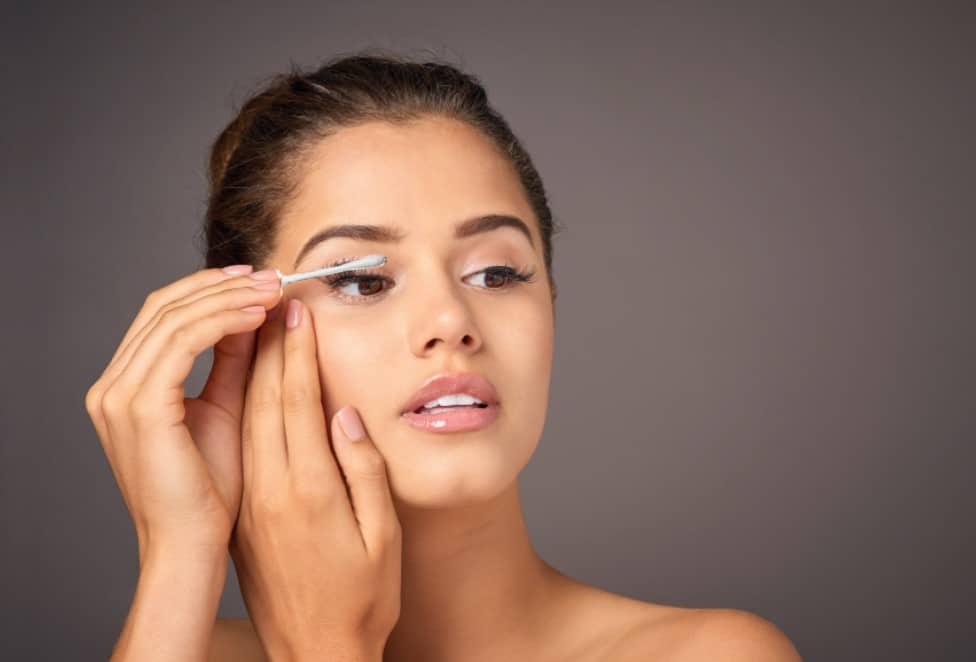
Use micellar water and a cotton swab to gently clean your eyes and eyelashes. Micellar water is made of filtered water, hydrating ingredients (like glycerine), and mild surfactants that combine to make tiny micelles. These micelles are molecules that attract dirt and oil from your skin and help remove them. For best results, get rid of any mascara remnants before curling.
- LEAN FORWARD
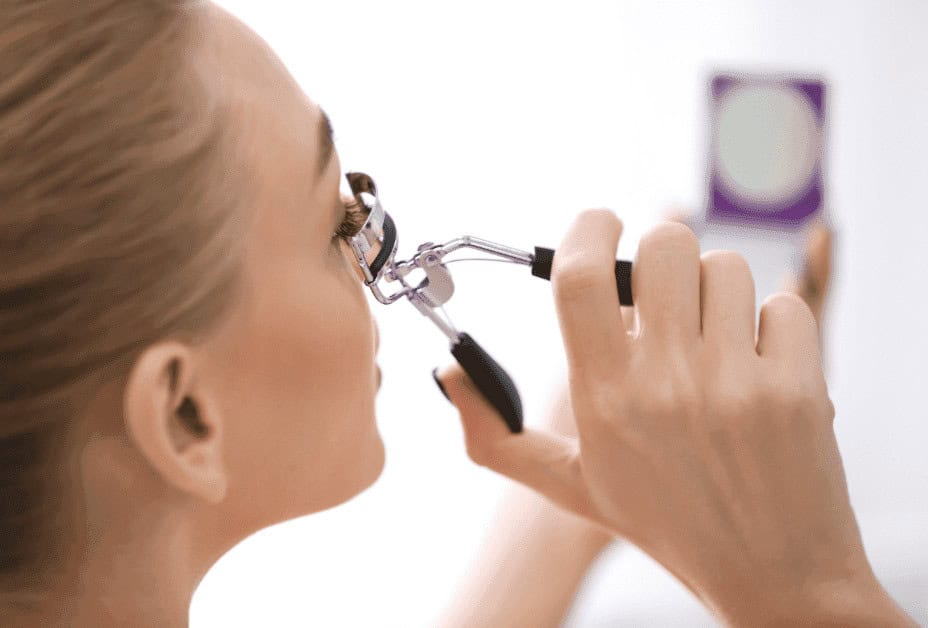
Now that you have selected your preferred curler and prepared your lashes, it is time to put them to work. To start, take a mirror and clean your lashes. Perfection comes with practice.
Everyone has a unique eye shape, but an excellent general, step-by-step guideline is to stare into a mirror and hold your head in the right posture. Doing this allows you to position the curler without inadvertently squeezing your eyelid. Keep your chin up and lean your head slightly back for the ideal angle to prevent curler-related injuries.
- GENTLY CLAMPDOWN
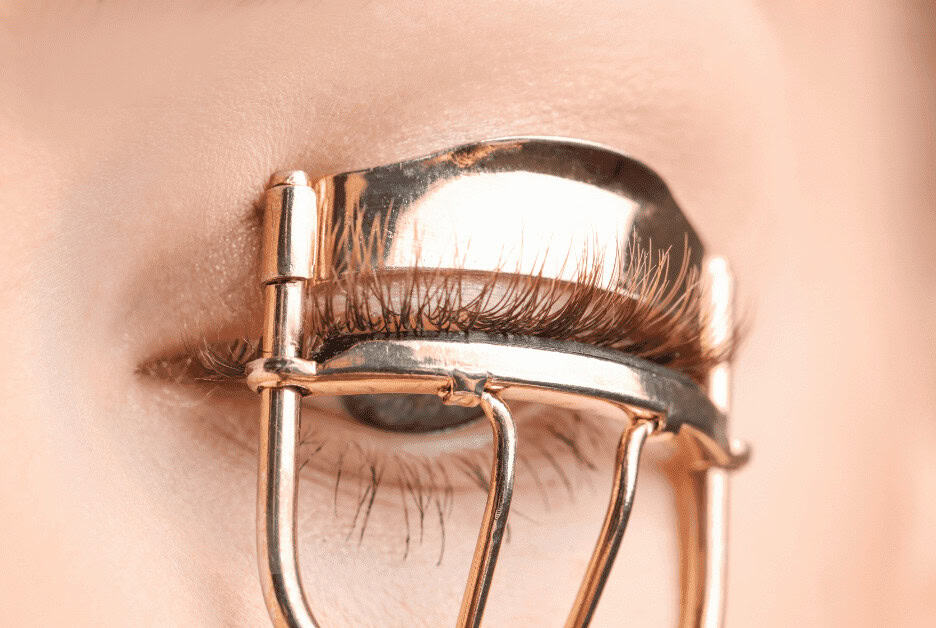
For eyelash curlers that don’t heat up, hold the curler like a pair of scissors and open it all the way. Keep the tool near your top lashes while keeping your eyes open.
Now place you need to put your lashes in between the top and cushioned bottom. Without squeezing the skin, stop as close to the root as possible
Keep the tool upright near the base of your eyelashes for the first curl.
Next, bring the opened curler up to your lashes. The lashes need to slide in between the two clamps. Clamp down gently, ensuring no skin is in the space between the clamps.
- HOLD AND PULSE
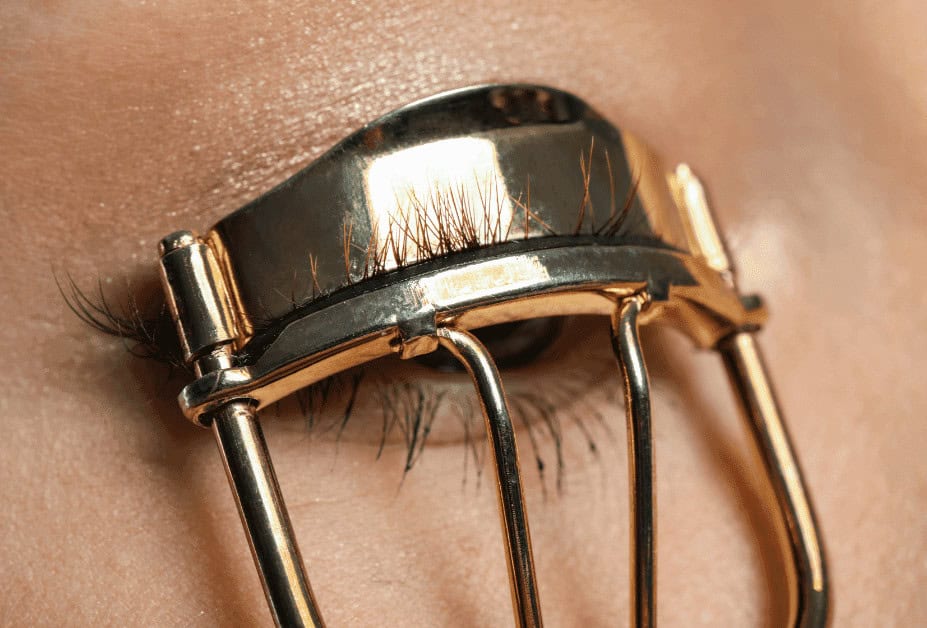
Once you are comfortable with the posture, apply firm pressure for around five seconds while keeping it from being too intense. Then, on your second eye, repeat the following procedures.
- CURL UPWARD
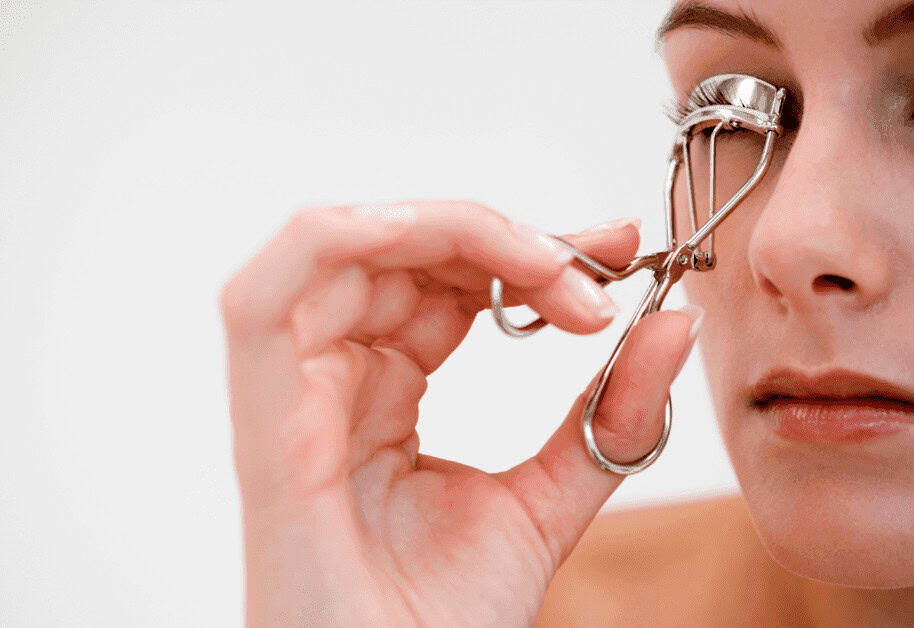
To get a more dramatic curl, gently pulsating the curler along the length of the lashes works well. Then, when applying pressure for the last time, slide the curler back down to the root of the lashes by moving it forward a small amount at a time while softly pulsating.
- APPLY MASCARA
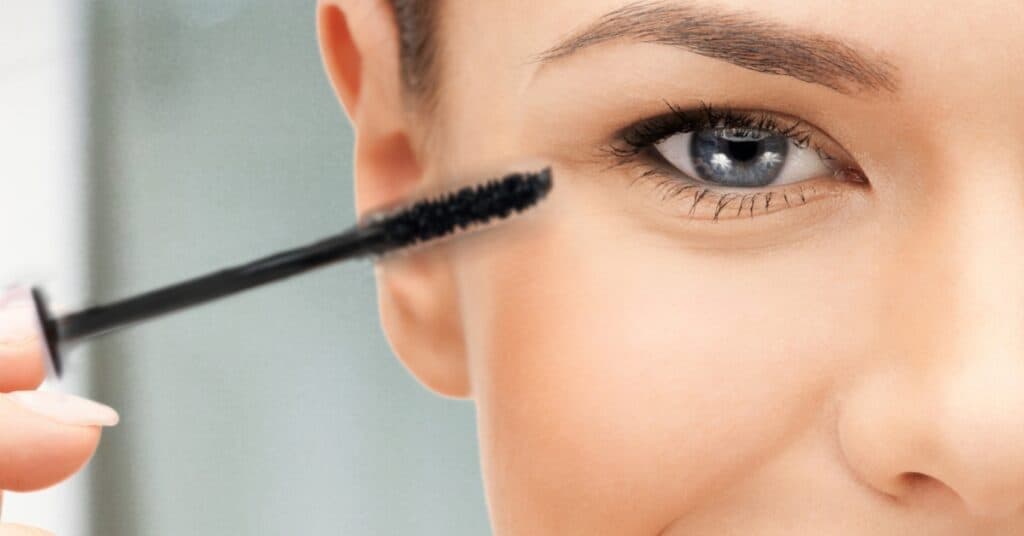
After both lashes have been curled, it is time to apply your preferred mascara. It will help you in maintaining the curl. Additionally, this will make your lashes thicker, giving your eyes a dramatic effect.
Apply eyelash glue to your false eyelashes after using mascara if you wear them. Apply, as usual, being careful to reach the root and tip of each lash. If you like, you may use an eyelash comb to separate your lashes afterward.
CLEAN EYELASH CURLER
Your eyelash curler has to be cleaned after each use to remove bacteria that might lead to eye infections. Use an alcohol solution to wash down the rubber pads.
TYPES OF EYELASH CURLER
Today’s eyelash curlers include metal mechanical, heated, plastic, and precision or point curlers. Each variety has various perks and features, so it’s crucial to research and select the right one. Let’s talk about eyelash curlers.
METAL MECHANICAL EYELASH CURLER
Metal mechanical lash curlers, also known as traditional lash curlers, are the most popular form of lash curler available. As such, they are frequently the first set of eyelash curlers a person tries. However, a more conventional, non-heated eyelash curler is an easier step to include in an eye makeup routine.
HOW TO CURL EYELASHES WITH A METAL MECHANICAL EYELASH CURLER
1st STEP– First, remove any leftover eye makeup. Gently wipe your eyes and lashes with micellar water and a cotton swab. This step is essential because if you curl your lashes with mascara on, your lashes will fall out. So be sure to thoroughly clean your lashes.
2nd STEP– Then, look in the mirror and tilt your head correctly. You may place the curler in this way without accidentally squeezing your eyelid. For the best stance to avoid curler-related injuries, keep your chin up and gently tilt your head back.
3rd STEP– Next, grab your lash curler and place the clamps as close to your eyelids. Make sure the curler is not placed over the thin skin of your sensitive eyelids by bringing it up near the root of your lashes.
You should look down and place your eyelashes between the top and cushioned base, as near the root as possible, without squeezing the skin.
4th STEP– Press down on the lash curler about 3/4 of the time and hold it there for 5 seconds.
5th STEP– Squeeze once more after moving the curler to the middle of the length of your lashes.
6th STEP– To the very end of your lashes, gently squeeze for a few seconds, then let go. By doing this, you can avoid a sharp bend and achieve a pleasant progressive curl. Then gently move the curler out.
7th STEP– repeat the same process on your second eye.
8th STEP- Use a couple of coats of mascara. And that’s it; you’re ready to go without any worries.
EXPERT TIPS FOR USING METAL MECHANICAL EYELASH CURLER
- CURL YOUR LASHES BEFORE MASCARA –
After applying mascara, most people practice curling their eyelashes. You should not be doing that, though. After using mascara, you should not curl your lashes since they will become stiff and less flexible.
When they are stiff, attempting to curl them with a curler might cause breakage or fallout. Therefore, the lashes should be curled permanently before applying mascara.
- KEEP YOUR LASHES CLEAN –
Keeping your lashes clean is a crucial tip to keep in mind when curling your eyelashes. Regular eyelash cleaning will help you maintain clean, moisturized lashes that are simple to put mascara on.
Therefore, cleaning your lashes and using a makeup remover is always preferable before using a lash curler. You will undoubtedly get the best results from this.
- YOUR EYELASH CURLER SHOULD ALWAYS BE KEPT CLEAN –
Another factor that might hinder your eyelashes from appearing beautiful is not keeping your eyelash curler clean. A soiled or infected eyelash curler increases the risk of microorganisms touching your eyes and eyelashes.
Instead, wash your eyelash curler with some soapy water. Wash it well, then use a cloth to pat it dry.
- SLIGHTLY HEAT THE CURLER –
Heating your curler will ensure that it correctly curls your eyelashes and that the curls persist for longer. Metal curlers are required so that the curler may be heated up quickly. Use a blow dryer to adequately warm the curler. To ensure that the lashes are correctly curled, curl them as soon as possible with an eyelash curler.
- HOLD ON –
To effortlessly curl the eyelashes using an eyelash curler, hold on to the curler for a brief period of time. Then, the curler should be heated and held on the lashes for 20 to 40 seconds. Remember that the more curls you achieve on the lashes, the longer you hold.
- USE VASELINE TO CREATE A DEWY EFFECT –
To give your lashes a dewy appearance, use Vaseline. Also, make sure to keep your eyelashes clear of dirt and dead skin by cleaning your eyelashes or eyelids.
Apply some Vaseline to the eyelashes. Next, apply an eyelash curler now in the same manner. Using this technique may give your lashes a whole, hefty appearance.
- DO NOT TUG –
When using the eyelash curler, be sure not to pull the lashes. Instead, softly curl them. Using the eyelash curler to remove them might damage them and cause fallout. Pulling your eyelashes with a curler will never make them curly; on the contrary, it will seriously harm them.
- DRY THEM CORRECTLY –
After applying mascara, letting your eyelashes dry is another crucial step. Additionally, use the same motion you used to curl your lashes to apply mascara. The mascara needs time to dry to give you the desired look.
- START CURLING FROM THE ROOT –
Curl the lashes from root to tip throughout their length to raise them.
- FINISH WITH MASCARA –
If you’re a regular eyelash curler user, you should invest in a robust volumizing mascara. Because volumizing mascara is a must to give your entire eye makeup more drama and radiance.
HEATED EYELASH CURLER
A heated eyelash curler might seem even scarier to some people who believe using a standard eyelash curler seems torturous enough. But to your surprise, it is not!
Lash hair often refuses to listen, just like your hair, so it is time to turn up the heat. Heat will help shape your eyelash hair more effectively for a more extended hold.
HOW TO CURL EYELASHES WITH A HEATED EYELASH CURLER
1st STEP- Clean lashes are a great way to start. Thereby, gently clean all the leftover makeup or dirt from your lashes.
2nd STEP- After washing your face, take your curler and warm it up.
Curlers are more efficient when it’s hot. Moreover, the warm-up process doesn’t take much time. But make sure you don’t overheat
3rd STEP- Adjust the temperature to your comfort and eyelashes. I always suggest starting with the lowest heat and increasing the heat if you need more.
4th STEP- To allow the heat to penetrate, place the curler near the lash root and slowly drag it upward along the lashes for at least 5 seconds. Repeat until desired lift and curl is achieved.
5th STEP- Some parts may need to be reviewed more than once. Comb over them and apply a few coats of your preferred mascara to lock in your curled lashes.
EXPERT TIPS FOR USING METAL HEATED EYELASH CURLER
- ENSURE CLEAN AND DRY EYELASHES.
After selecting your preferred heated lash curler, ensure your eyelashes are completely dry before beginning any preparations. This is so that they maintain their curl rather than return to their normal shape since wet lashes will not. Since mascara and heat can cause lashes to break, ensuring your lashes are clean and free of any mascara residue can help keep them from falling out.
- CHECK CURLER TEMPERATURE –
Due to their capacity to produce long-lasting curls, heated eyelash curlers are becoming increasingly popular in providing eyes that seem more luminous and vibrant. But you always have to ensure an acceptable temperature for your eyelashes.
Also, before applying it to the eyelids, lightly press the eyelash curler on your hands. This will help you understand whether the temperature is acceptable or not.
- PRESS DOWN THREE TIMES –
Hold the heated eyelash curler open and rotate it back and forth until you are sandwiching the hair between the lash line and the curler. Then, press down three times softly for a dramatic impact.
- DO NOT OVER CURL –
The scariest thing that may happen with any eyelash curler is that your eyelashes might get stuck in it and be yanked out. So it is all about moderation if you want to keep this from happening with your hated curler.
Try to use it once or twice a day at most. Thanks to the added heat and the act of curling, all you need to do to get gorgeous eyes is curl your eyelashes once. Just do not forget to seal it with volumizing mascara.
PLASTIC EYELASH CURLER
If you are going on a trip and want to make your eyes look wide and swoopy, your search ends here, queen. This travel-friendly plastic lash curler is all you need. Moreover, it doesn’t take up much space in your makeup bag because of its compact size.
HOW TO CURL EYELASHES WITH A PLASTIC EYELASH CURLER
1st STEP- Place the plastic top and the rubber pad against your eye, with your lashes sandwiched in between.
2nd STEP– Then, carefully and gently push the curler handle to clamp the lashes.
3rd STEP- Press down on the lash curler about 3/4 of the time and hold it there for 5 seconds.
4th STEP- Turn the curler slowly and softly upwards while holding the lashes in place.
5th STEP- Do the same procedure to your other eye.
6th STEP- Seal the look with a coat of mascara. And you are all set, gorgeous!
EXPERT TIPS FOR USING A PLASTIC EYELASH CURLER
- Make sure that the pad is securely fastened to your curler
- Do not exert excessive pressure.
- Limit your usage
PRECISION or POINT EYELASH CURLER
Precision or point lash curlers, also known as mini lash curlers. These implements have a form similar to that of metal mechanical curlers and handle resembling scissors. Since there is less chance of them breaking or falling off at the clamp, this is also the preferred lash curler for individuals who use false lashes.
HOW TO CURL EYELASHES WITH A PRECISION or POINT EYELASH CURLER
1st STEP – First, remove the moisture from lashes, preferably with a cotton bud. Go through them with a spoolie, too.
2nd STEP – Now for curling, you have to divide the lashes into three parts (inner corner, middle part, outer corner) with your mind’s eye cause; precision eyelash curler has a small diameter making it unable to curl all the lashes, at the same time.
3rd STEP – Heat it. You will get the best out of precision eyelash curlers if you heat them up.
4th STEP – Start curling from the inner corner lashes. Set the rubber pad close to the lash base, and avoid getting too close to your eyelid(obvs). Press and hold for up to 5-10 seconds. This procedure should be repeated for the remaining lashes.
5th STEP – This step is dedicated to lowering lashes, which you’ll rarely see on other normal lash curler guides. Hold the curler upside down and curl those lashes. Precision curly can be very handy for curling tiny lashes like the lower ones.
EXPERT TIPS FOR USING A PRECISION OR POINT EYELASH CURLER
PRO TIP #1 – With small curlers like these, you may have the urge to start curling directly from the roots of your lashes. Do not do that, as the roots naturally help lashes grow upwards. If you start from the roots, you’ll end up with strong J-shaped curls, which will be very inconvenient if you apply mascara later. Cause such strong curls make the lashes touch your upper eyelid, and with mascara on, you’ll be more prone to smudging.
PRO TIP #2 – To give your outer eyelashes a winged-like shape, press them with a curler and curl them outwards.
PRO TIP #3 – To avoid upper and lower lash contact, heat the metallic handle of your lash curler and press the upper eyelashes upwards and the lower ones downwards.
HOW TO CURL EYELASHES WITHOUT AN EYELASH CURLER
Don’t have an eyelash curler? No worries! Without a curler, you can curl your lashes easily. Aloe vera gel is a common way of curling lashes. Use a spoon, toothbrush, or warm fingertips to gently curl your lashes. Keep tuned for further information on how to curl your lashes without an eyelash curler utilizing these simple methods.
HOW TO CURL LASHES USING ALOE VERA GEL
When you were in high school in the early 2000s, do you remember how high school girls all over the world would slather on hair gel and twist their hair into submission in order to get every last drop of wave out of their curls?
This method is similar to that, but it is less crunchy, and the results will not make you grimace when you look back at the pictures. Natural gels, such as aloe vera, can help to retain a slight curl and clarify the contour of your eyelashes.
THINGS YOU NEED –
- Aloe vera gel.
- A clean mascara wand.
- A Hair Dryer.
STEPS YOU NEED TO FOLLOW –
1st STEP – Take a small dab of aloe vera gel with your middle finger. Warm up the gel by gently rubbing your thumb and index finger together.
2nd STEP – Hold your thumb under your eyelashes and slowly close your eyes over your thumb. Slide your fingers lightly over your eyelashes. Repeat a few times to make sure the gel is evenly coated.
3rd STEP – Push your eyelashes against your lid by placing your fingertips behind them horizontally. Please maintain this position for a minimum of 30 seconds to allow the aloe vera gel to dry. Then, curl your eyelashes by lifting them up.
4th STEP – To make the curls last longer, gently run a warm hair dryer over your lashes during the set.
5th STEP – Repeat with your other eye and with the bottom lashes.
6th STEP – Use mascara or remove it once the aloe has dried.
HOW TO CURL EYELASHES USING A SPOON
One of the most common DIY lash-curling tricks is using a spoon. It is a basic procedure based on a simple spoon for those who are worried about poking themselves in the eye. It seems that your cutlery drawer is packed with beauty tips!
THINGS YOU NEED –
- A spoon that is thin from the sides
- A mug
- Warm water
STEPS YOU NEED TO FOLLOW –
1st STEP – Place the clean, metal teaspoon head-down in a glass half-filled with warm water. Put the spoon into a bowl of boiling water for about three minutes to preheat it.
2nd STEP – After removing the spoon from the water, thoroughly dry it with a clean towel. The curl will not hold or form nicely on wet lashes.
3rd STEP – Before holding the spoon up to your eye, check the spoon’s warmth on your wrist. If it feels too hot on your wrist, wait a minute to let it cool up a bit.
4th STEP –Hold the spoon horizontally and place the inner curve on your upper eyelid. Use the spoon-rounded outer face to curl your lashes.
5th STEP – Use your fingertips to press the upper lashes against the spoon’s arc. To help establish the curls, press the base of the top lashes on the spoon’s outside edge for 10 seconds. The hot spoon’s curvature will help to curl the upper lashes into place.
6th STEP – Look for any lashes that haven’t been appropriately curled. It is not always easy to get the lashes around the corners of the eyes to curl properly. Repeat the curling procedure but focus on pressing the spoon with the last few straight lashes.
7th STEP – seal the look with a coat of mascara. Applying mascara will help maintain the shape of your curls.
HOW TO CURL LASHES USING A TOOTHBRUSH
THINGS YOU NEED –
- A Clean Toothbrush.
- Paper Towel.
- Your Favorite Mascara.
STEPS YOU NEED TO FOLLOW –
1st STEP – First, take a fresh, clean toothbrush; if you cannot find a new toothbrush but have an unused old brush, then thoroughly clean the extra toothbrush you have.
2nd STEP- Put the brush in a cup of warm water. This step will allow you to have warm bristles to work with.
3rd STEP – Remove all the excess water by shaking or using a paper towel.
4th STEP – Now, To curl your eyelashes, use the warm toothbrush to brush through the lashes and hold the brush at the tip of your lashes.
5th STEP – If you don’t get your desired curl in the first application, warm the brush bristles and repeat step 4.
6th STEP – After your lashes have curled the way you want them to, you can continue on to the next step: Applying Mascara.
EXPERT TIP –
To hold the curl, we suggest you apply Mascara at least twice. This will help you to set the curl for a more extended period.
HOW TO CURL LASHES USING YOUR WARM FINGERS
STEPS YOU NEED TO FOLLOW –
1st STEP – First, to get your hands warm, rub your fingers together back and forth numerous times.
2nd STEP – Now, close your eyes and gently press the tips of your eyelashes against the inside of your eyelids. Up toward your brow, press them, and hold for a few seconds. Be very gentle with your lashes while doing this.
3rd STEP – For a tighter or looser curl, simply repeat the steps above.
4th STEP – Finally, to ensure that your lashes retain their length and curl, apply two coats of mascara.
FINAL THOUGHTS
Now that’s everything about curling eyelashes in one place. You might be getting intimidated and thinking, why all these hustles? It’s just eyelashes. Well, you need to choose one method which would suit you the best. Start with the right-shaped curler. The wrong curler might be the main reason to make you dislike the whole lash-curling idea. Also, a good eyelash curler, suitable for your eye shape, is only supposed to give your lashes amazing curls. Your eyelashes won’t get harmed or weakened by using them. So, have no fear.

